For any season, homemade vinegar is easy to make. And it goes perfectly with healthy and tasty food.
You can find the equipment and ingredients along in this blog. Click on the underlined words. Each time, another page on your browser will be opened and you will be able to see the details and place your order.HERE ARE ALL THE SIMPLE STEPS
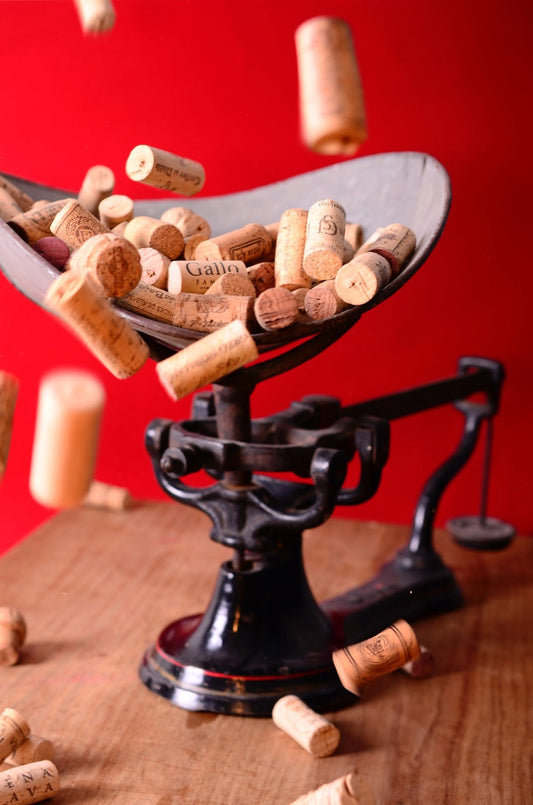
STEP 1 - Gather your vessel Because acetobacter bacteria need oxygen to work, an Artisan's demijohn, a wide-mouth crock, a glass jar, a food-grade plastic bucket, a bowl, a wooden cask or any other non-metal container is the best option (vinegar corrodes metal). Do not fill the container more than about half-full to maximize the surface area ratio.
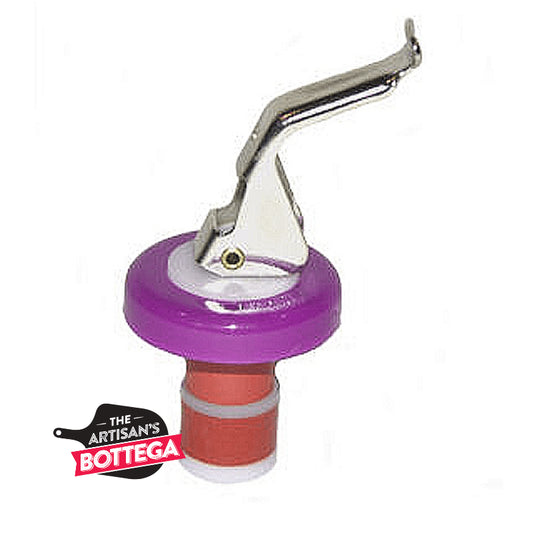
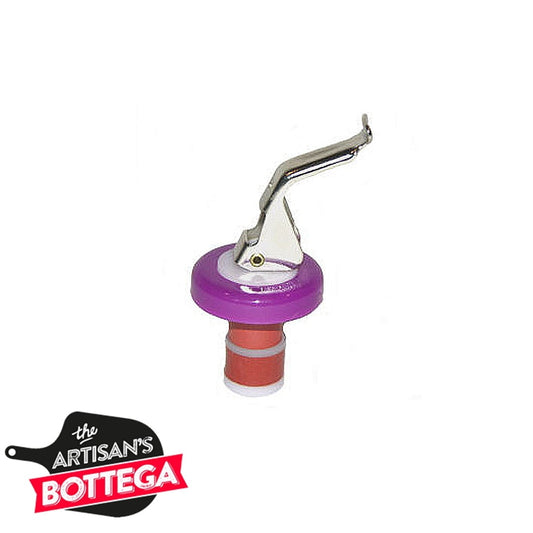
STEP 2 - Gather your starter Use your jar from The Artisan’s Bottega. Either Merlot Red Wine Vinegar Mother or Pinot Noir Red Wine Vinegar Mother.Optional tip: place an oak stave in the container, as per taste.
STEP 3 - Gather your ingredients To make wine vinegar, you want 1 part starter (or mother), 1 part unchlorinated water and 2 parts alcoholic beverage. Use unsulfited organic alcohols if possible, because sulfites kill acetobacter bacteria. If your wine contains sulfites, let the mixture sit for a half-hour. (If your water is chlorinated, boil it first and let it cool down, or let the water sit out on the counter overnight.) For cider and beer vinegars, omit the water. Add alcohol and water, if using any, to your vessel. Stir. Pour in the starter (or gently add the mother). STEP 4 - Cover the top Place cloth or a few layers of cheesecloth over the container and secure with a rubber band. STEP 5 - Store the vessel Set the vinegar pot where the temperature stays between 15 and 30 degrees celsius. Keep the container out of sunlight and drafts. STEP 6 - Monitor the vinegar Over time, the mother on top of the vinegar will become thicker. It may develop a brownish cast, which is fine. If you see mold or smell a paint-thinner aroma, toss the batch. (This is rare.) STEP 7 - Taste the vinegar After a couple of weeks, sample a spoonful of the vinegar. Simply remove or lift the mother out of the way. It’s OK if the mother sinks. If the liquid tastes like vinegar, it’s ready. You may want to leave it to ferment longer for a stronger flavour. In warm temperatures, vinegar may be finished in two weeks. In cold temperatures, it may take a month or more — it’s OK to let it go longer. Vinegar is stable for a long time, though it will begin to lose its potency in time. STEP 8 - Draw off your finished vinegar Pour the liquid through a strainer. Decant almost all of it to a clean, glass jar with a narrow neck and a top with a tight-fitting lid or new cork to reduce further oxidation. The vinegar will continue to age and mellow in the bottle. STEP 9 - Save the mother Put the mother back into the fermenting vessel and pour the remaining vinegar over it. This is the mother of vinegar for your next batch. You can either start a new batch now or let your mother sit at room temperature for up to a month until you’re ready to use it again. If you plan to share the mother, now is the time to split it (avoid metal knives/scissors). SETP 10 - Age the vinegar Store the vinegar at 10 to 16 degrees for six months to mellow and let particles settle. The vinegar will improve for up to two years, then slowly decline. Use the vinegar as is, dilute it to your taste, or infuse it with herbs or other flavours. Now that all is done, enjoy a great vinegar to dress your meals!